Set Up Guide: Symbe Salesforce App
The Symbe Salesforce app allows you to link a Symbe business case to an opportunity in Salesforce. You can easily create, view or modify a business case directly from the Salesforce opportunity page.
Step 1: Install the Symbe Salesforce package
Install from the AppExchange or using the install link sent directly from your Symbe customer service contact. Once the package is installed you can continue with the steps below.
Step 2: Configure your opportunity pages to always include the Symbe module
You must have admin permissions in Symbe and Salesforce to complete these steps.
1.
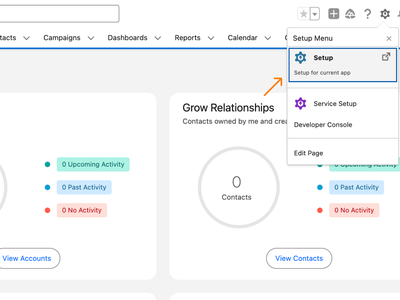
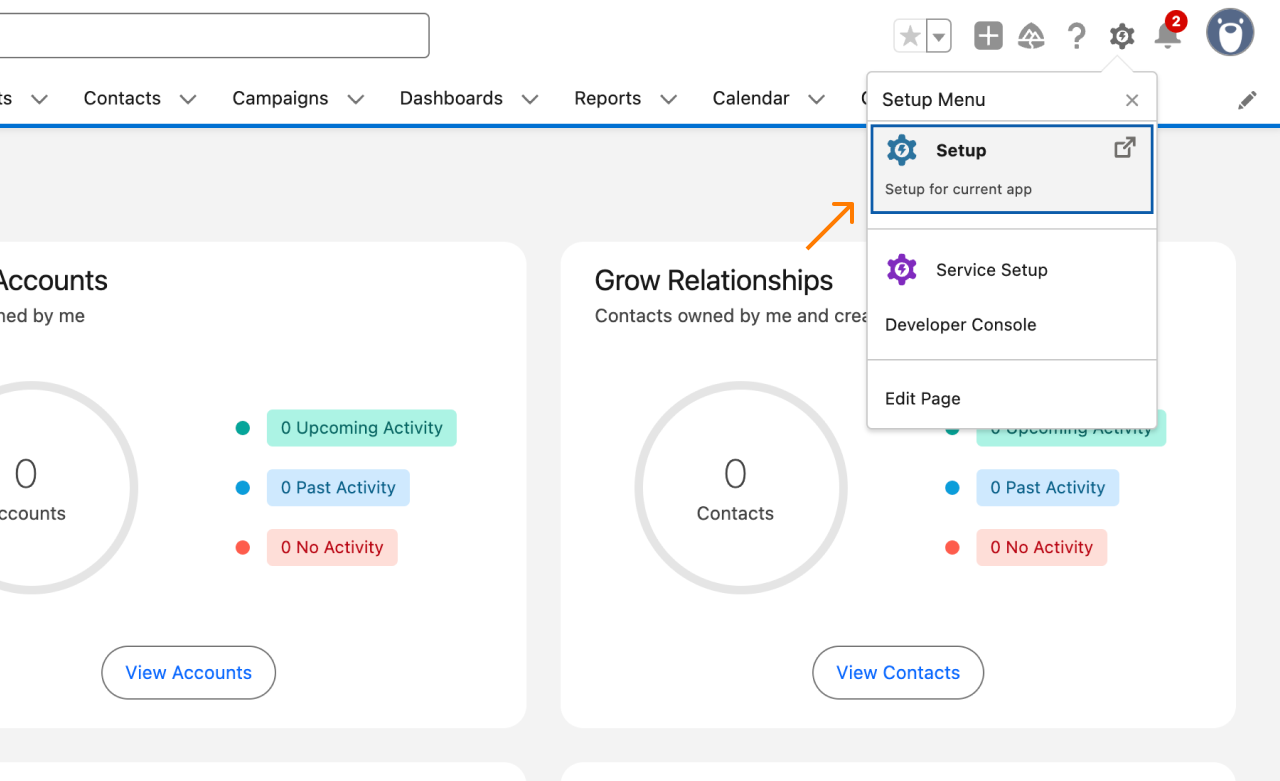
Go to Salesforce and select Setup.
2.
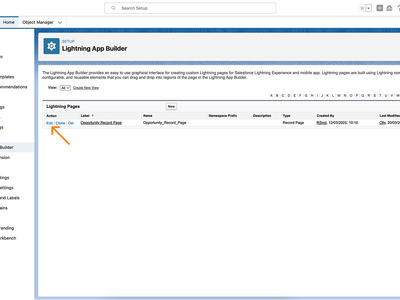
Navigate to Object Manager, select Opportunity > Lightning Record Pages and then click Edit. This will open the Lightning App Builder for the Opportunity record page.
3.
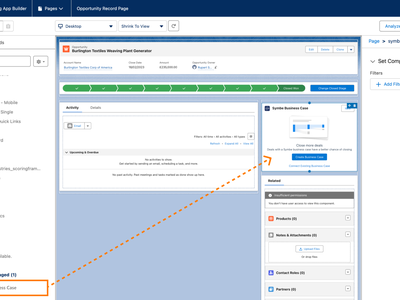
Scroll down in the Components list to the Custom sections and drag the Symbe Business Case component onto the page layout above the “Related” sidebar. Now click "Save".
Step 3: Grant Symbe Salesforce Permission Set
4.
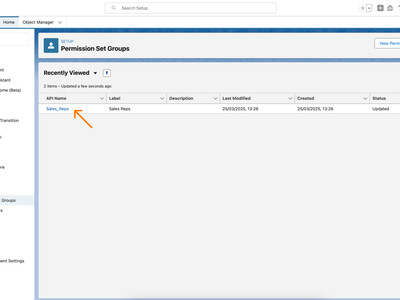
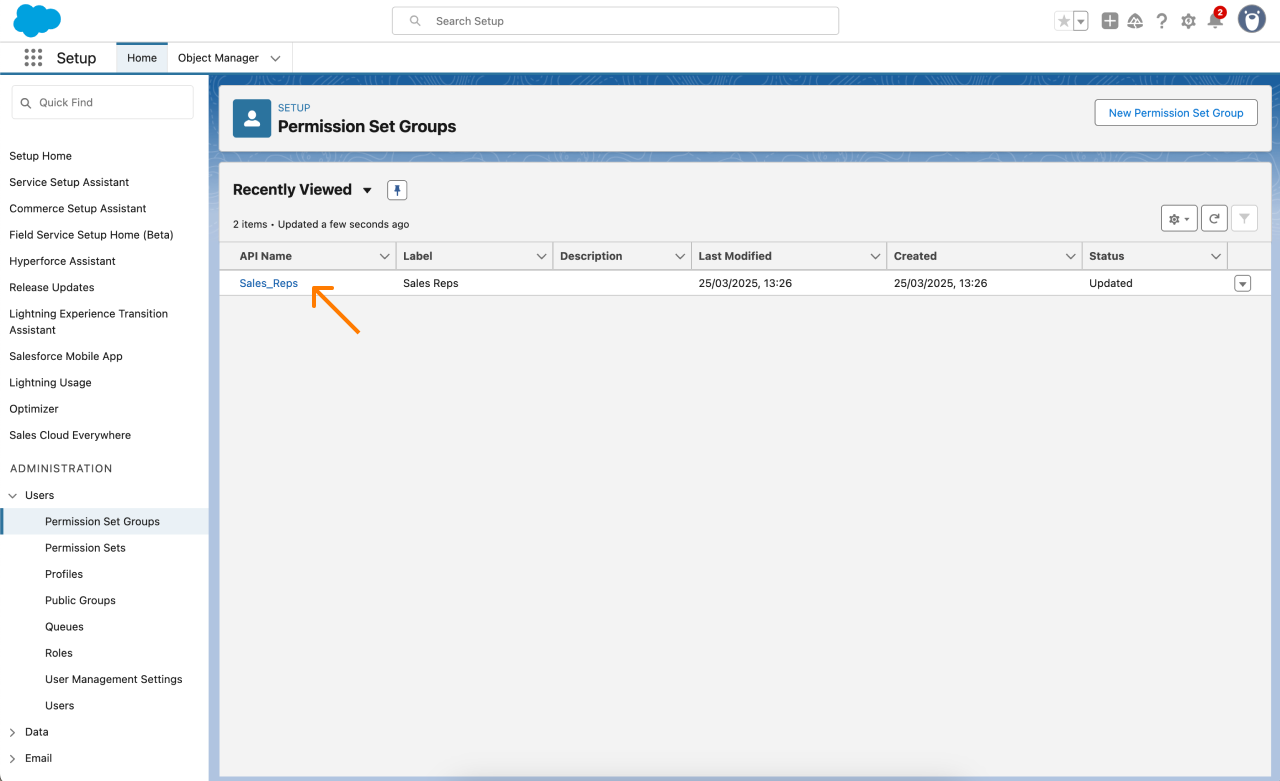
In Salesforce, select Setup > Users > Permission Set Groups then select the group for which you want to grant the Symbe Permission Set.
5.
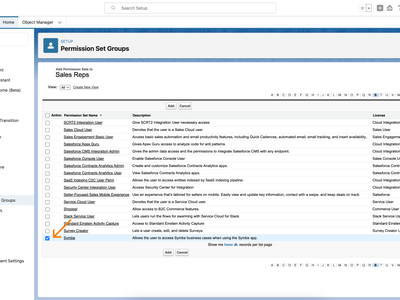
Find the Permission Sets section on the page and click the Permission Sets in Group link under it. Then click the Add Permission Set button, find Symbe in the list and select the check box next to it. Click Add, then Done. Repeat for each group you want to add the Symbe Permission Set to.
Step 4: Connect your Symbe and Salesforce accounts
6.
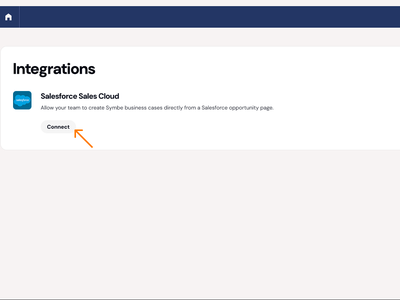
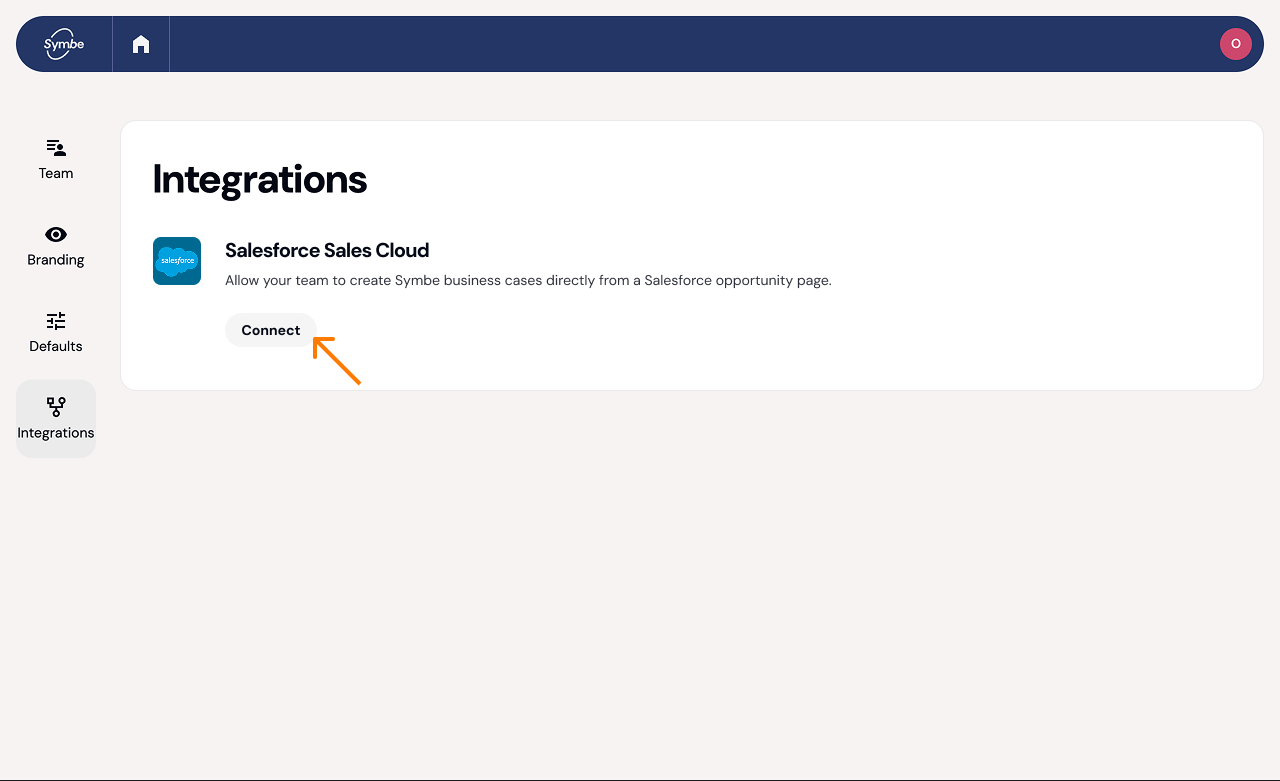
In Symbe go to Settings > Integrations > Salesforce.
7.
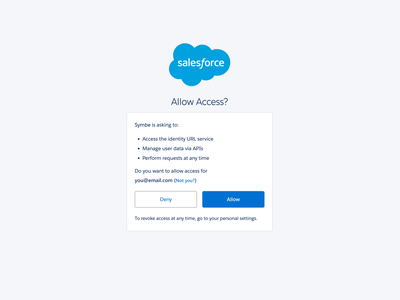
Click Connect. This will open a new window. Then click Allow. The Salesforce integration should now show as connected.
Step 5: Open any opportunity page and start using it
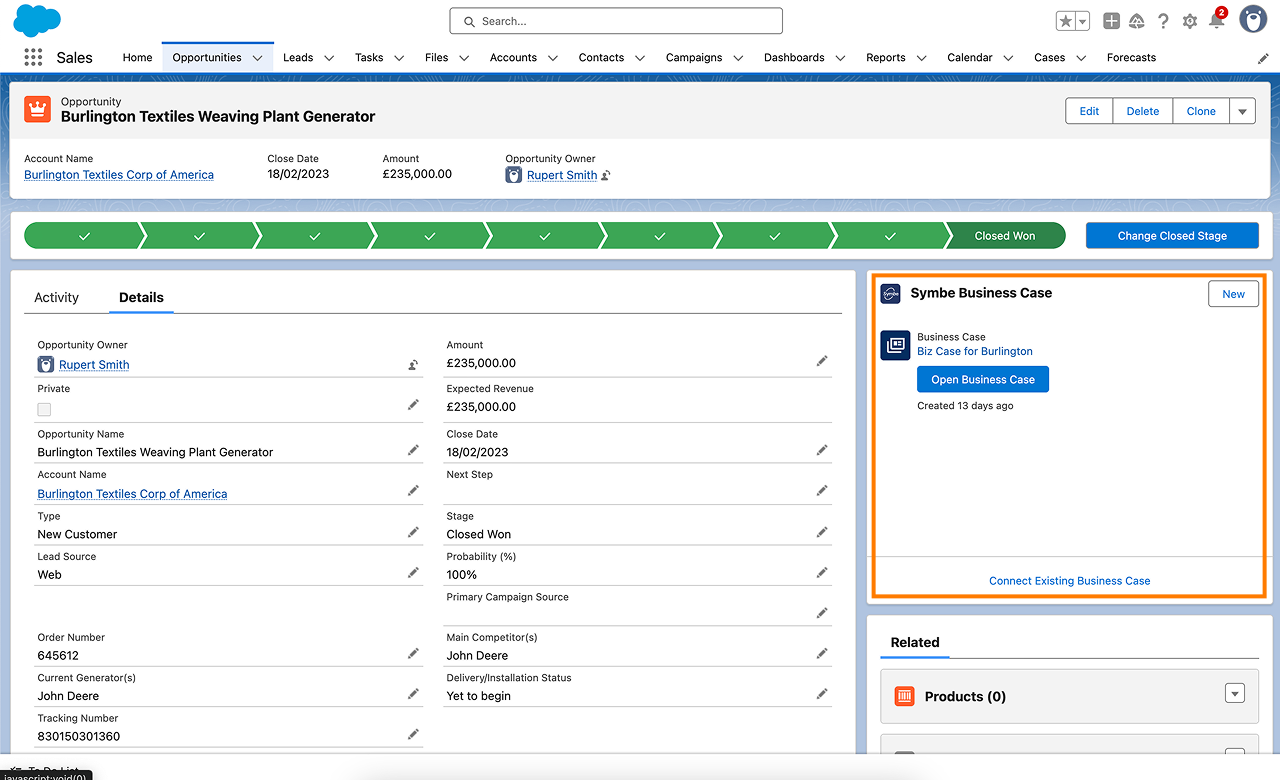
It is now ready for your team to use. You should see the Symbe Business Case module on the right side of every opportunity record page.
How to use the Symbe Salesforce app
Click Create Business Case. This will open a new browser window.

In the window select how you want to create your new business case:
From a template
Build it from scratch with library slides
Browse and make a copy of an existing business case
Click Open Business Case. This opens the business case in Symbe.
Any modifications you make will be reflected in Salesforce automatically
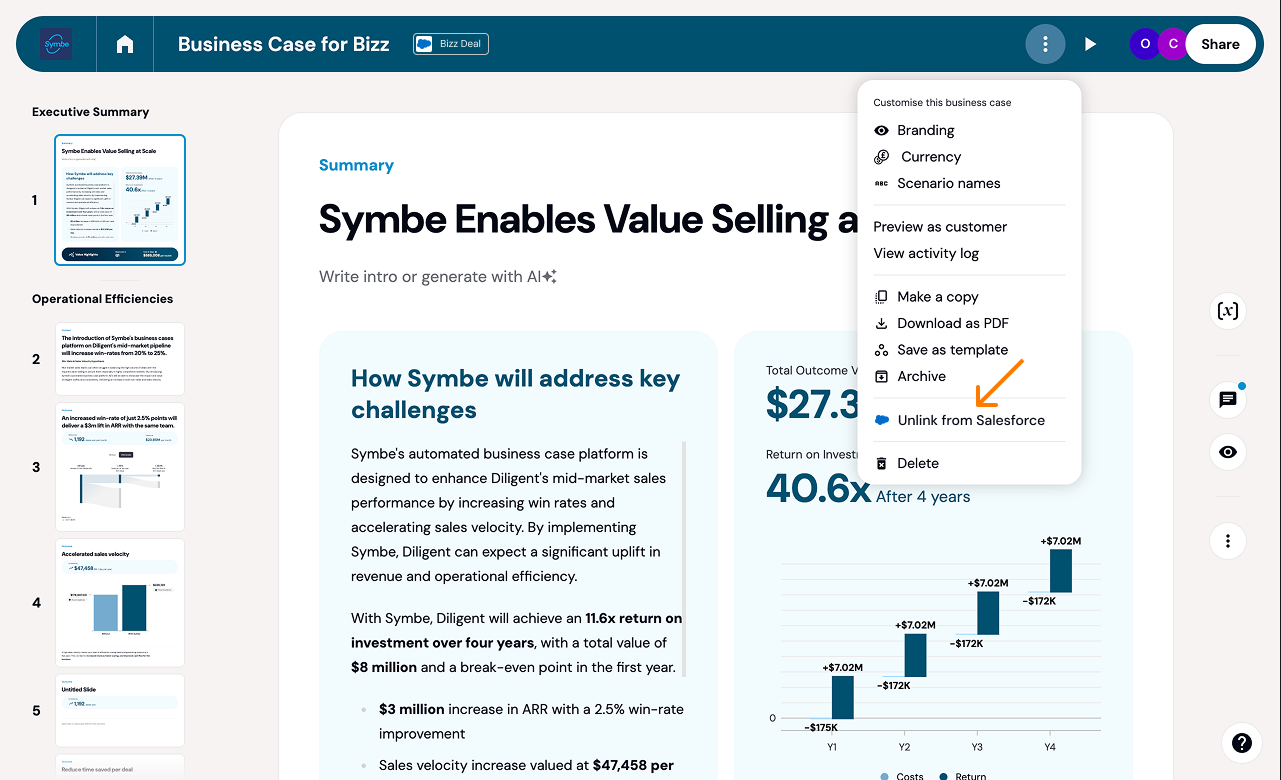
To unlink a business case from an opportunity you need to open the business case in Symbe.
Navigate to the business case in Symbe
Select the menu button in the header and then select Unlink from Salesforce
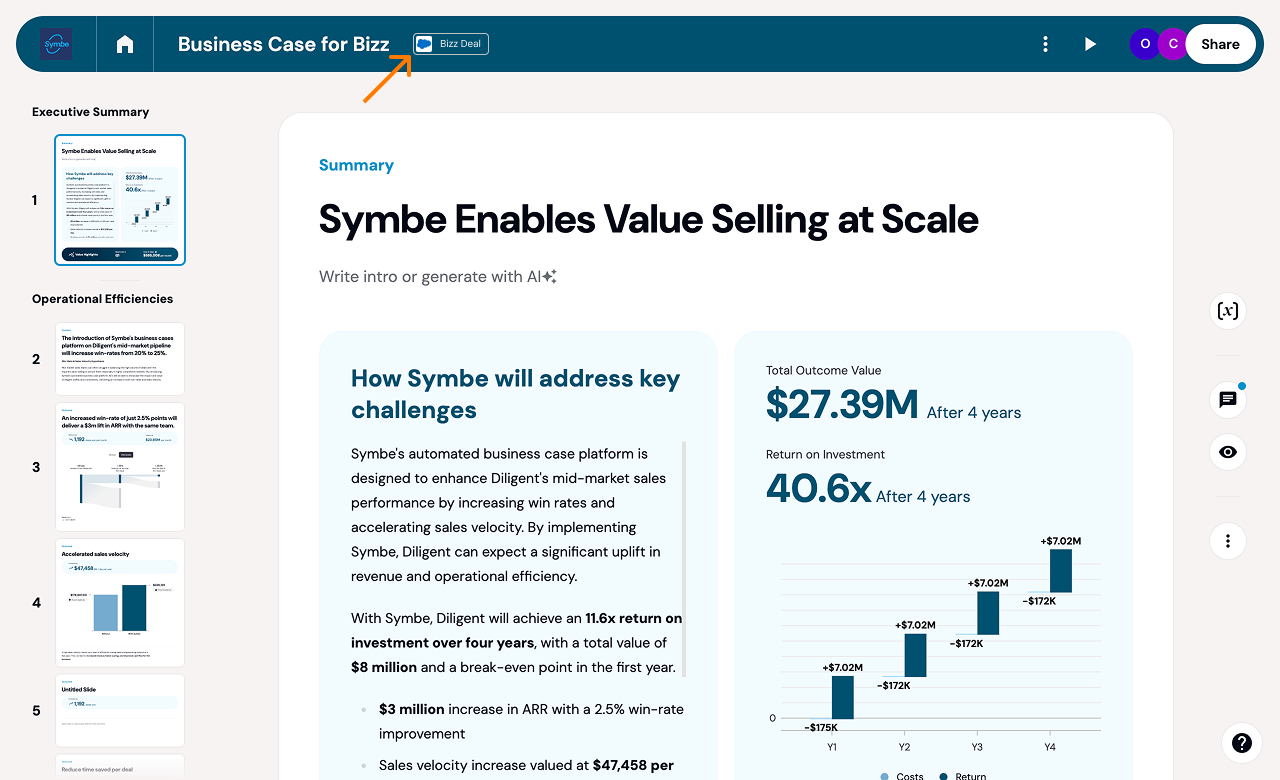
Any business case linked to a Salesforce opportunity will display an opportunity badge in Symbe. This is displayed at all times, so you are always sure if the business case you are working on is linked to an opportunity.
You can click the opportunity badge at any time to open the opportunity immediately in Salesforce.
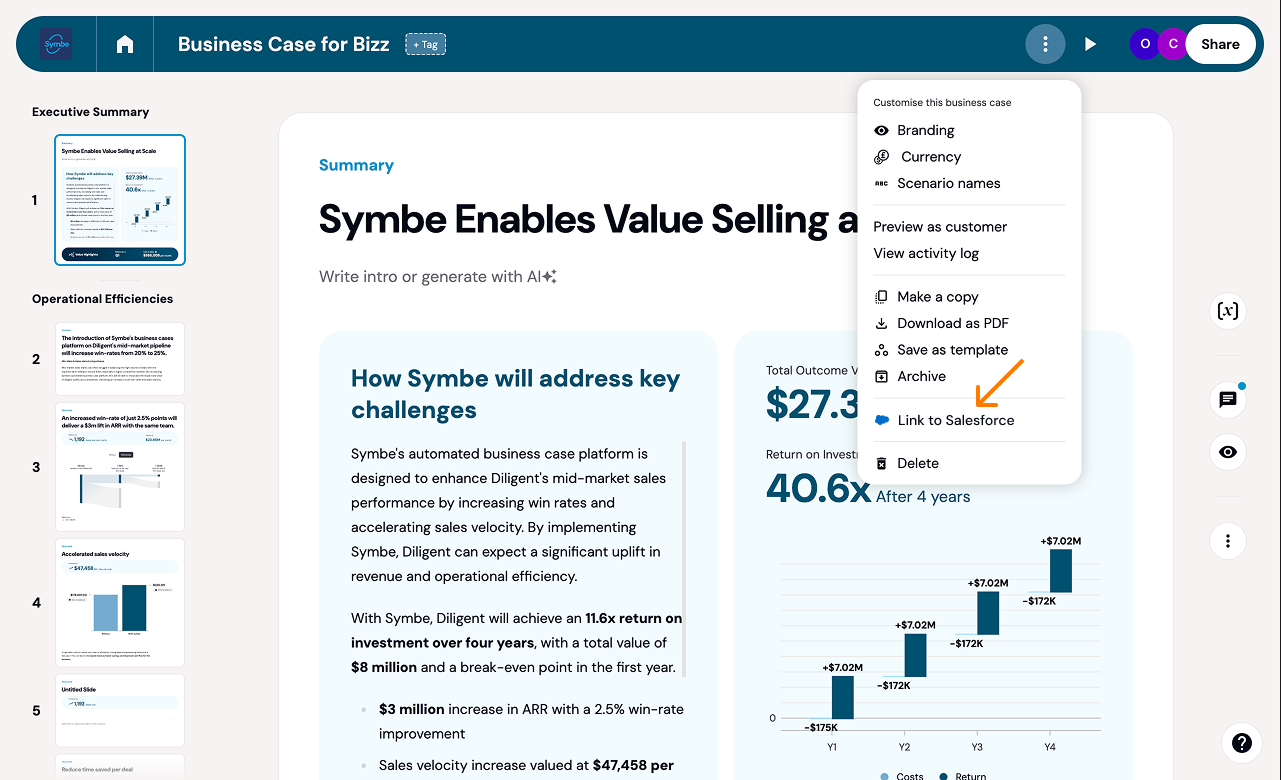
You can also link an existing business case directly from Symbe without needing to open the opportunity in Salesforce.
Navigate to the business case in Symbe
Select the menu button in the header and then select Link to Salesforce. This will open a window in Symbe.
Then simply select the opportunity you want to link the business case to
Click New or Connect Existing Business Case. This will open a new browser window.
Select either how you want to create your new business case or the business case you want to link.
Click Connect Existing Business Case. This will open a new browser window.
In the window select the business case that you want to link to the opportunity.
In case you need to disconnect Symbe from your Salesforce account, you will need to first go to Symbe and then go to the Symbe app settings in Salesforce.
In Symbe go to Settings > Integrations > Salesforce and click Disconnect. After disconnecting, your team will no longer be able to access business cases from Salesforce or link them with Salesforce opportunities.

Now go to Salesforce and navigate to Setup > Apps > External Client Apps > External Client App Manager. Click on the Symbe app and then select Disable (or Delete) from the action menu in the top right corner.